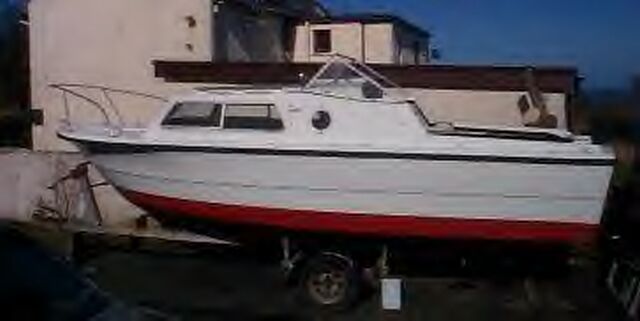
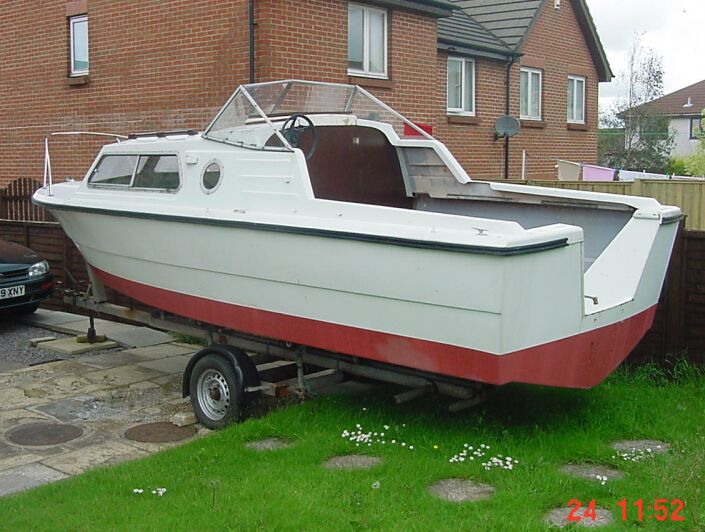
'Crwydryn y Mor' is Den's Norman 20 which we first saw in a bit of a state. Den promises pictures and words to take us through the work he has done and, in the process, hopefully offer hints and solutions to others.
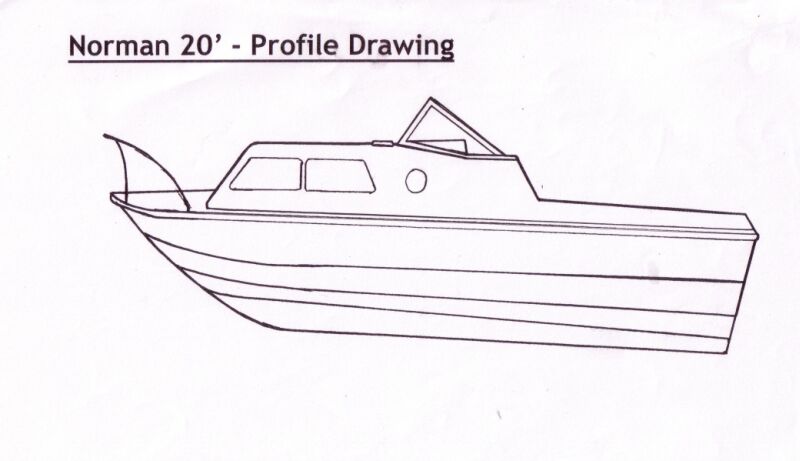
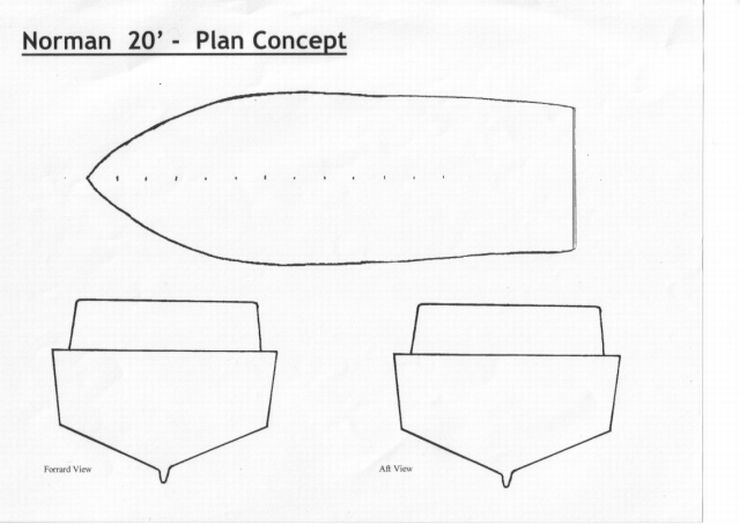
To help with this Den has produced these two line drawings for folk to fiddle around with when considering layout etc.
I'm planning a retirement trip through Europe via the Seine, Rhine, Danube, Med and Rhone. Most of the route is coastal or inland, the only exceptions being the English Channel (24 - 120 miles), Corfu/Italy (70 miles) and some "island hops" in the Aegean/Med.
I looked at the boats design and decided to make some modifications to the way it was (all standard 20' except for an open cockpit - no side lockers/seats) when I bought it for £1000 from the Anglesey area.
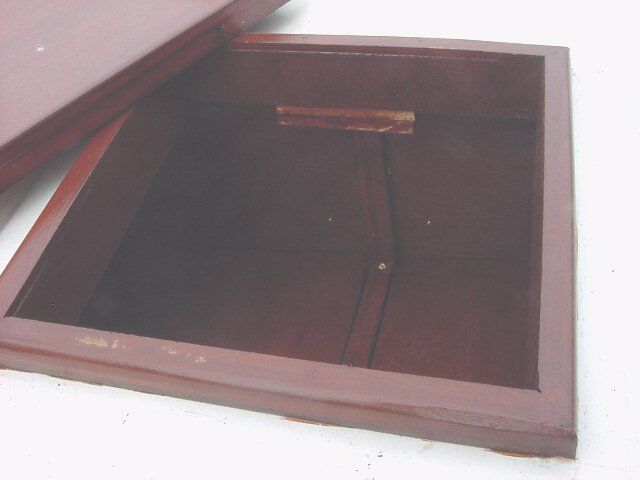
The first thing I decided was to cut a
foredeck hatch to use as an area to stow the anchor chain, warps and fenders
(when at sea). This is actually a double tier locker, with the anchor chain led
from right up forward through the deck via a plastic pipe to the bottom
(waterproofed) compartment, draining to the bilge. The upper tier is a dry
locker for the ropes, some tools and the fenders. This arrangement means
that ALL the space under the foredeck is used, note the drain hole (P&S) to the
bilge.
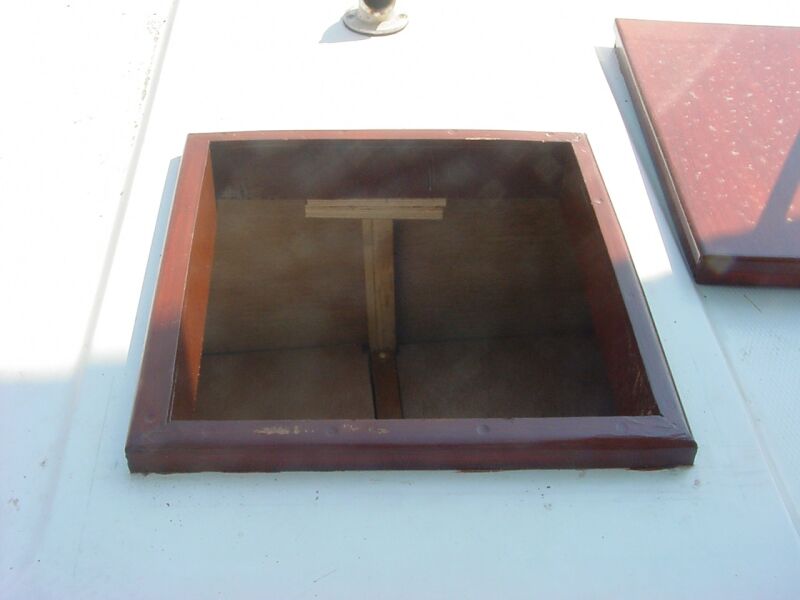
After reading safety recommendations, I decided to cut a cabin hatch, mainly as a fire exit, but also to let air circulate through the boat at night. As my entry hatch was really tatty, I decided finally to make a matching wooden one and it does look a neat arrangement!
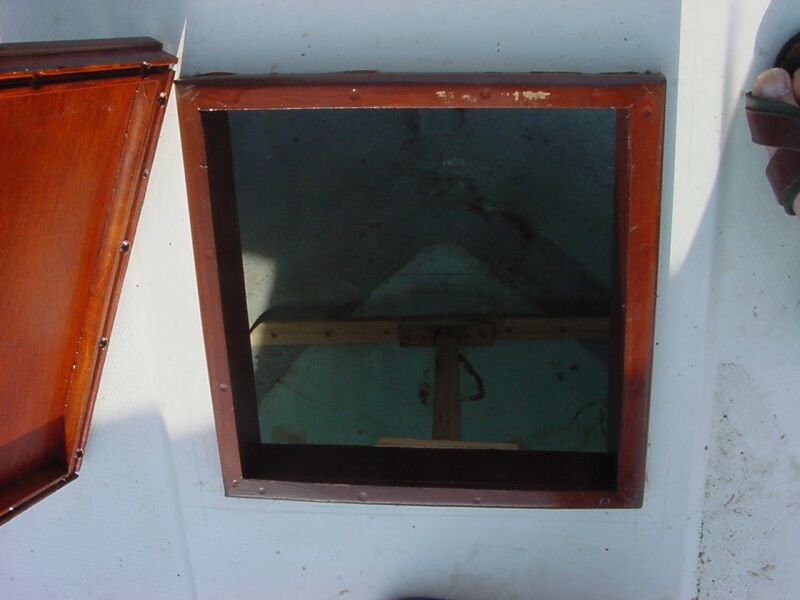
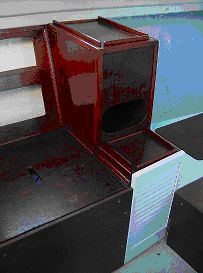
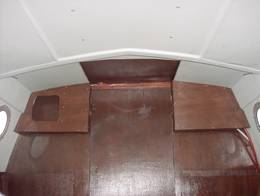
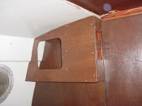
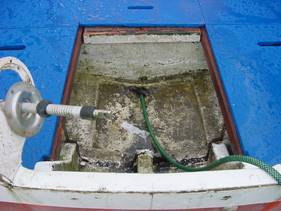
Forward hatch showing deck support. Foredeck anchor storage area.
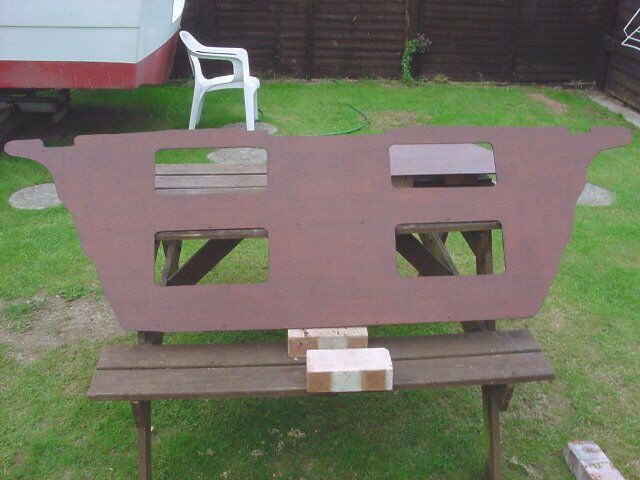
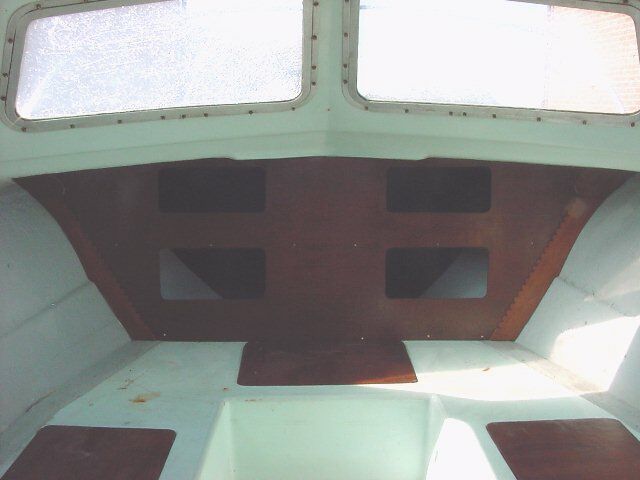
Forward bulkhead. The "three hatches"
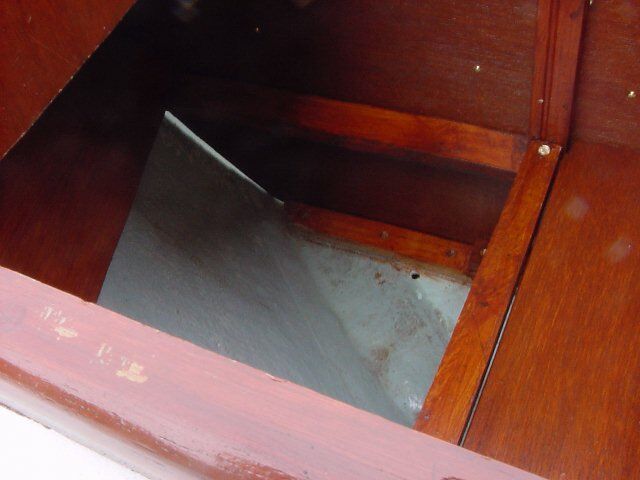
Foredeck hatch showing rope/fender locker The chain locker underneath
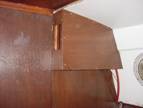
The personal locker bulkhead
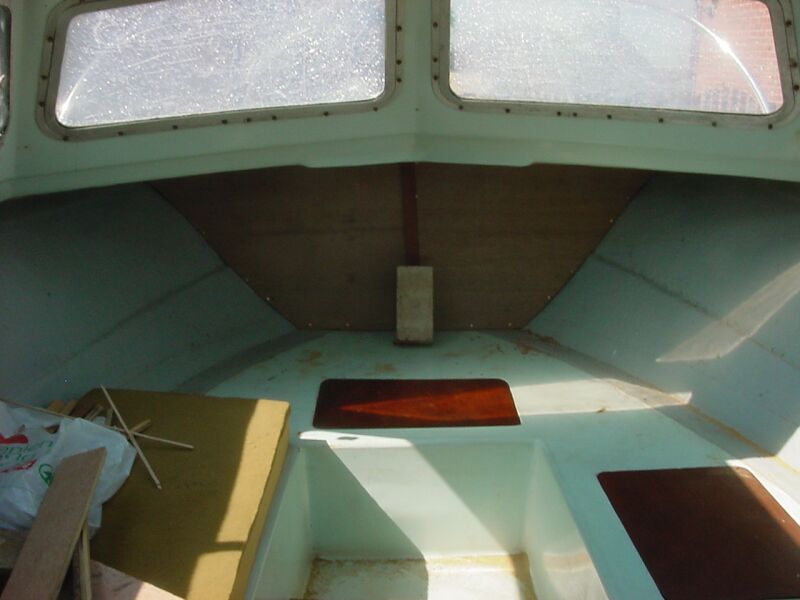
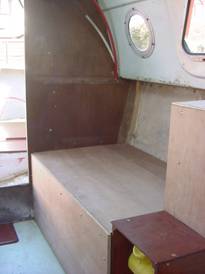
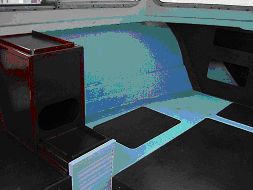
This is the completed forward storage area showing the bulkhead for personal storage. Immediately aft of this is to be a transverse double berth.
The next photo shows the space cleared to take the long range fuel tanks and the double berth bulkheads. The water tank is going in the middle forward under the double berth and the two diesel fuel tanks are port and starboard under the seating areas. Note that the sink and toilet areas here have been discarded - more on that later ! The small plywood bulkheads effectively demark the double berth ends and are actually bases for a higher "false" bulkhead to make a box/shelf area for night stuff, specs, night cap, books, false teeth, blow up doll. You know the sort of thing! They will have two auxiliary water tanks underneath.
The next thing to put in place are the fuel tank bases (marine plywood). These have been completed and are ready to fit. The tanks themselves are to be made from GRP and I have asked a local surfboard manufacturer, Roger Cooper, for advice and help here, because the fresh water tanks use a different non-tainting epoxy
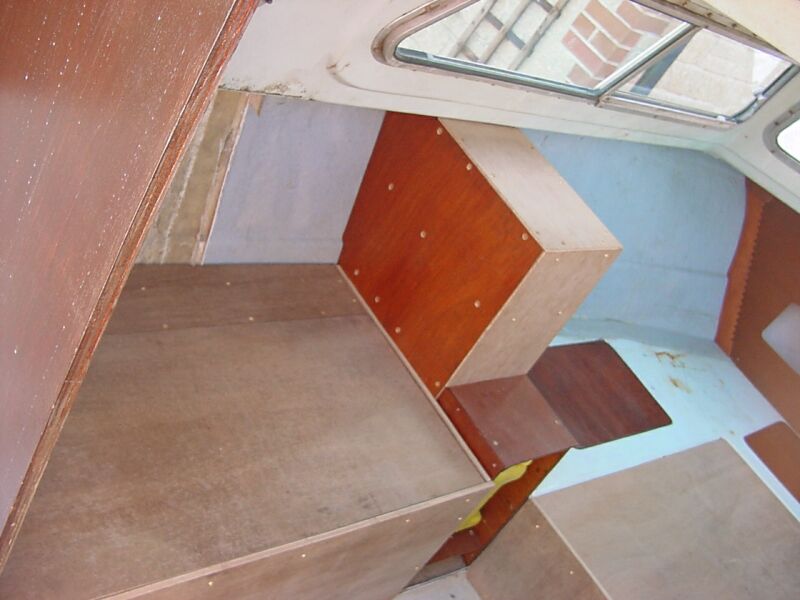
I have been working on the cabin ‘carcase’ work this summer and have now completed it, except for some shelving behind the seats.
View forward showing the double berth base with the
the side bulkheads
I still have to stain some of it, and later, as a ‘second fix’, I will cut out the
pigeon- hole type cupboards ( two each side) for personal use, probably one facing inboard, and the other facing forward.
with water container ( 5 gallons )
The next thing I had to do was fit the seats port and starboard aft of these bulkheads/cupboards. The diesel tanks will go under these, and I will put shelving up behind the seat backs in the same style as the personal stowage area forward.
These pictures show the seat bases in situ.The shelves go under the deck space
From forward

Next....el lumpo!!
This winter I have been busy setting up a business, so the boat took a bit of a backseat!
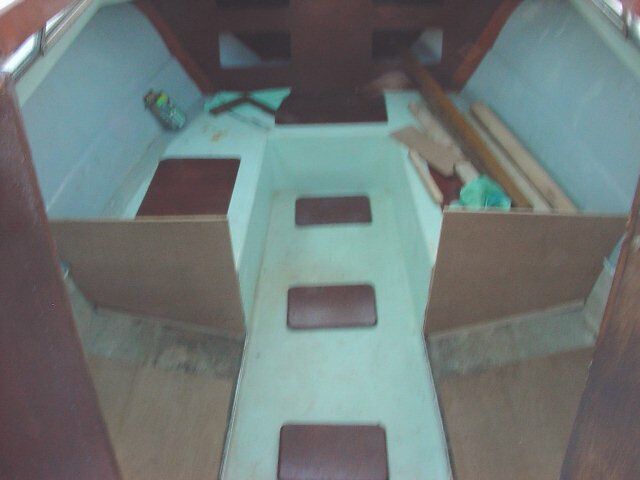
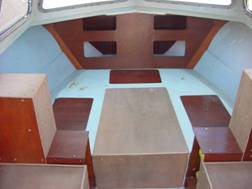
I have now finished the basic woodwork in the cabin , and have the double berth and two double bench seat layout I wanted.
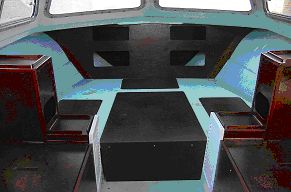
This photo shows the general layout of the cabin, looking forrard. The bench seats can be seen in the foreground, and the mini bulkheads/ personal storage/ water storage are in mid picture. The double berth is beyond, and the bulkhead shown earlier in the series is right forrard.
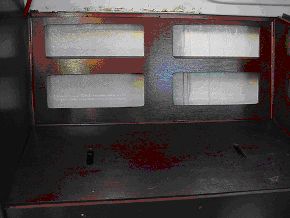
This is a view of the shelves above the bench seat (portside). They will be covered under normal circumstances by the padded seatback.
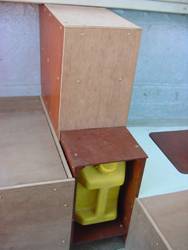
The photo below shows the midships mini-bulkhead, incorporating the personal storage area for the double berth and general
day to day stowage for small objects.
The louvered door (it’s a ‘falsy’ from B&Q!) conceals the five gallon plastic jerry can for freshwater stowage, as does the opposite (stbd) one.
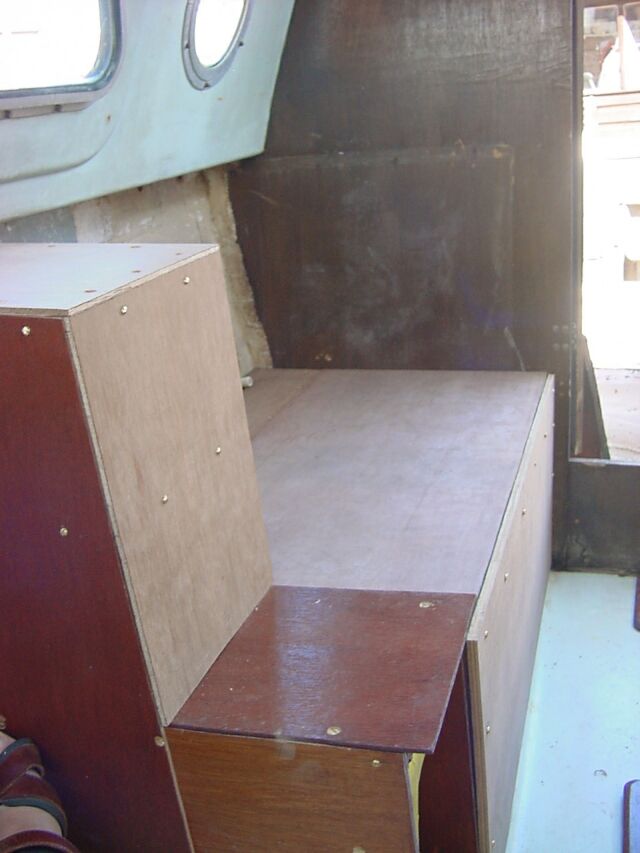
One end of the double berth. It shows the ‘normal’ Norman stowage access panel, but the large panel to the right is the cover for the
large, permanent water tank, with the plastic jerry cans acting as auxiliaries.
I have just about assembled together the bits for the z-drive rebuild, and will cover that as soon as I make progress. My target
date for sailing through Europe is April the first 2007, hopefully!
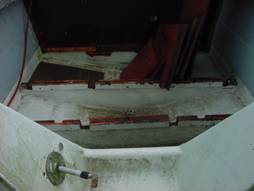
This is the refurbishment of the cockpit / stern area. The original cockpit was laid out as a fishing boat, with good quality ( ext. grade ) three-quarter inch ply sections screwed down and mastic’d heavily to give a waterproof deck.
I needed a different layout, incorporating side stowage, and liftable deck sections.

I found the slots really difficult to cut out, as there was an extra support fore and aft, as well as being fibre-glassed in! I chose the hottest day of the year to do this, it was like working in a greenhouse!

After cutting the slots, I used 2x2 red deal as the fore and aft supports, I
figure that if they give me 5 years, I’ll be doing well! Then I cut out the side
panels, and screwed them to the supports, to give a rigid area on the port and
starboard sides of the cockpit, as (a) to make the floor supports rigid, and (b)
to give the side panels/stowage areas a firm base.

The next job I have to do is to tailor the cockpit sides to the different configurations of need – one side the engine controls, the other for ‘domestic’ such as washing up and cooking etc.
![]()
This view shows two small cupboards I have placed on the aft bulkhead. They will serve several purposes: To conceal wiring from the stern light and compass mounting on the starboard. and other, i.e. cockpit, side of the bulkhead. To conceal the switch panel and wires, on the cockpit side, and the steering/morse cable on the port side. Part of the cable is still visible, although the curtain for the porthole will conceal this.
The Aft cabin cupboards
I have also included some side ‘cuddy-holes’ which will take folded charts/maps. The area that corresponds to the starboard cupboard I will use as a personal picture board, with a cork face like the kitchen reminder boards!
Port side cupboard
Starboard side cupboard
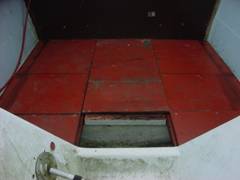
Continuing on with the refurbishment of the cockpit / stern area. I have now cleaned and painted the cockpit deck plates .
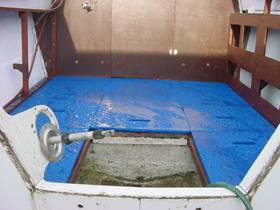
The deck plates, tastefully painted!
I have placed them on their supports, but they are not fixed. There are handholds for ease of lifting cut in them, and I intend to use the under space as stowage, with a shower base in the middle of the cockpit. The leisure batteries (2 of) will be placed in the centre, just in aft of the cabin door.
The engine area cut away to receive the Perkins 4107
The engine has nearly finished its refit, and the z-drive needs just one small job before it is fitted
I have done some work with the deck fittings, including the heavy duty fairleads, anchor cleat amd mooring cleats
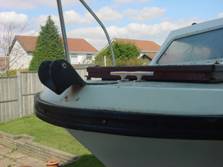
The forward anchor fairlead( with lift restrictor pin) and chain cleat
The anchor I am using for sea-work is a Danforth 11kg. With a ½ chain and rope combination. If I use the Severn Sea for my sea-trials I will extend the total length to 90’, the approved length for these waters. The chain will feed into the lower forward stowage compartment through a feed tube, leaving the upper compartment free to contain the mooring ropes, fenders etc.
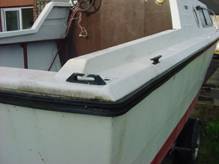
The Aft fairlead starboard side, with its cleat beyond
This detail shows one of the aft fairleads. In the Mediterranean mooring is conventionally bow facing the jetty , with a light line aft. My secondary anchor , also a Danforth, is on 60’ of 3/8” chain. The reason I am using Danforth is that they most closely meet the demands of the seas, rivers and canals that ‘Crwydryn-y-mor’ (Sea Wanderer) will be travelling through

Stern Light and compass mounting, Starboard side